


Intro
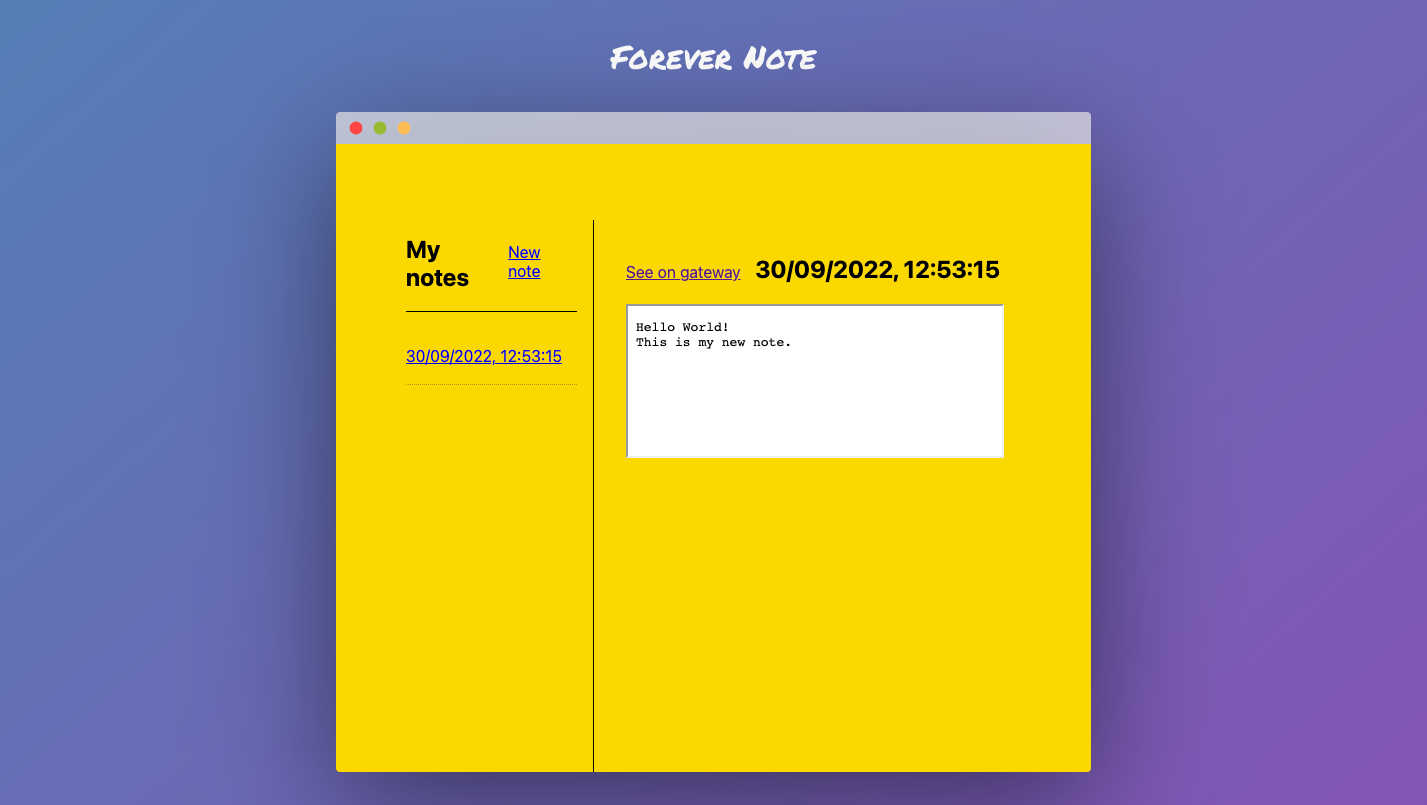
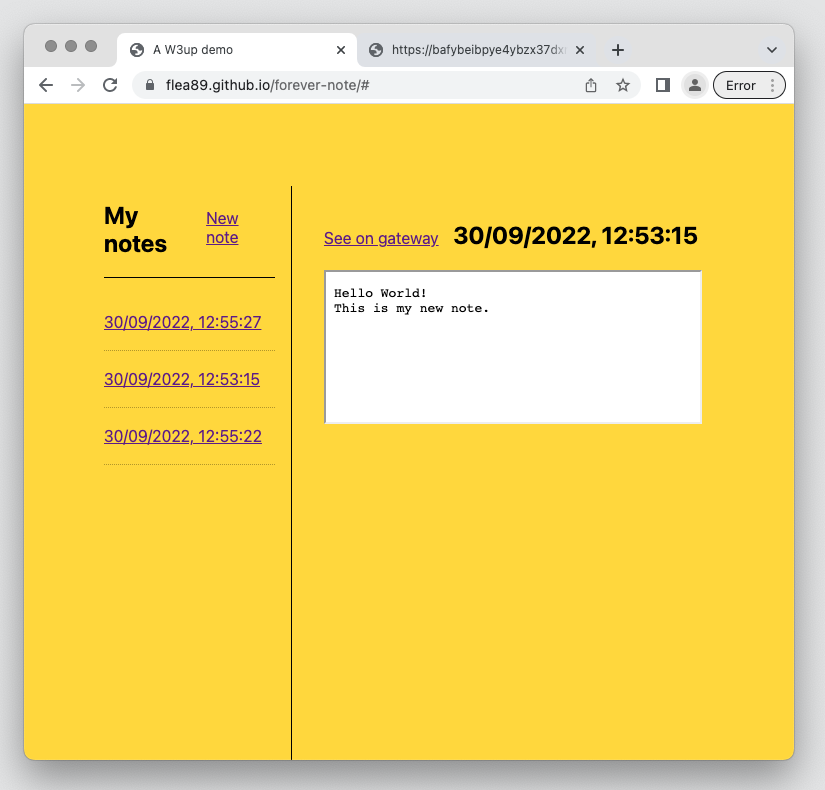
We put together an IPFS-based note-taking app with only front-end code, it's called Forever Note, and you can access it here and see the code in GitHub. Let's see how we build it!
This is possible thanks to a few essential tools: w3up, w3ui and UCAN.
UCANs (User Controlled Authorization Networks) are a powerful new way for people to authorize and control access to their data. Think of it as a decentralized and more customizable OAuth.
w3up is a service provided by Web3.Storage that implements UCANs and file upload to IPFS. With w3up you can create and manage your UCAN identities. w3up makes it simple to upload files to IPFS, even from a web browser.
Finally, w3ui is a collection of headless UI components that use w3up. You can use your favourite framework like React to implement, for example, a sign-in form and a widget to upload files to IPFS.
Authorization
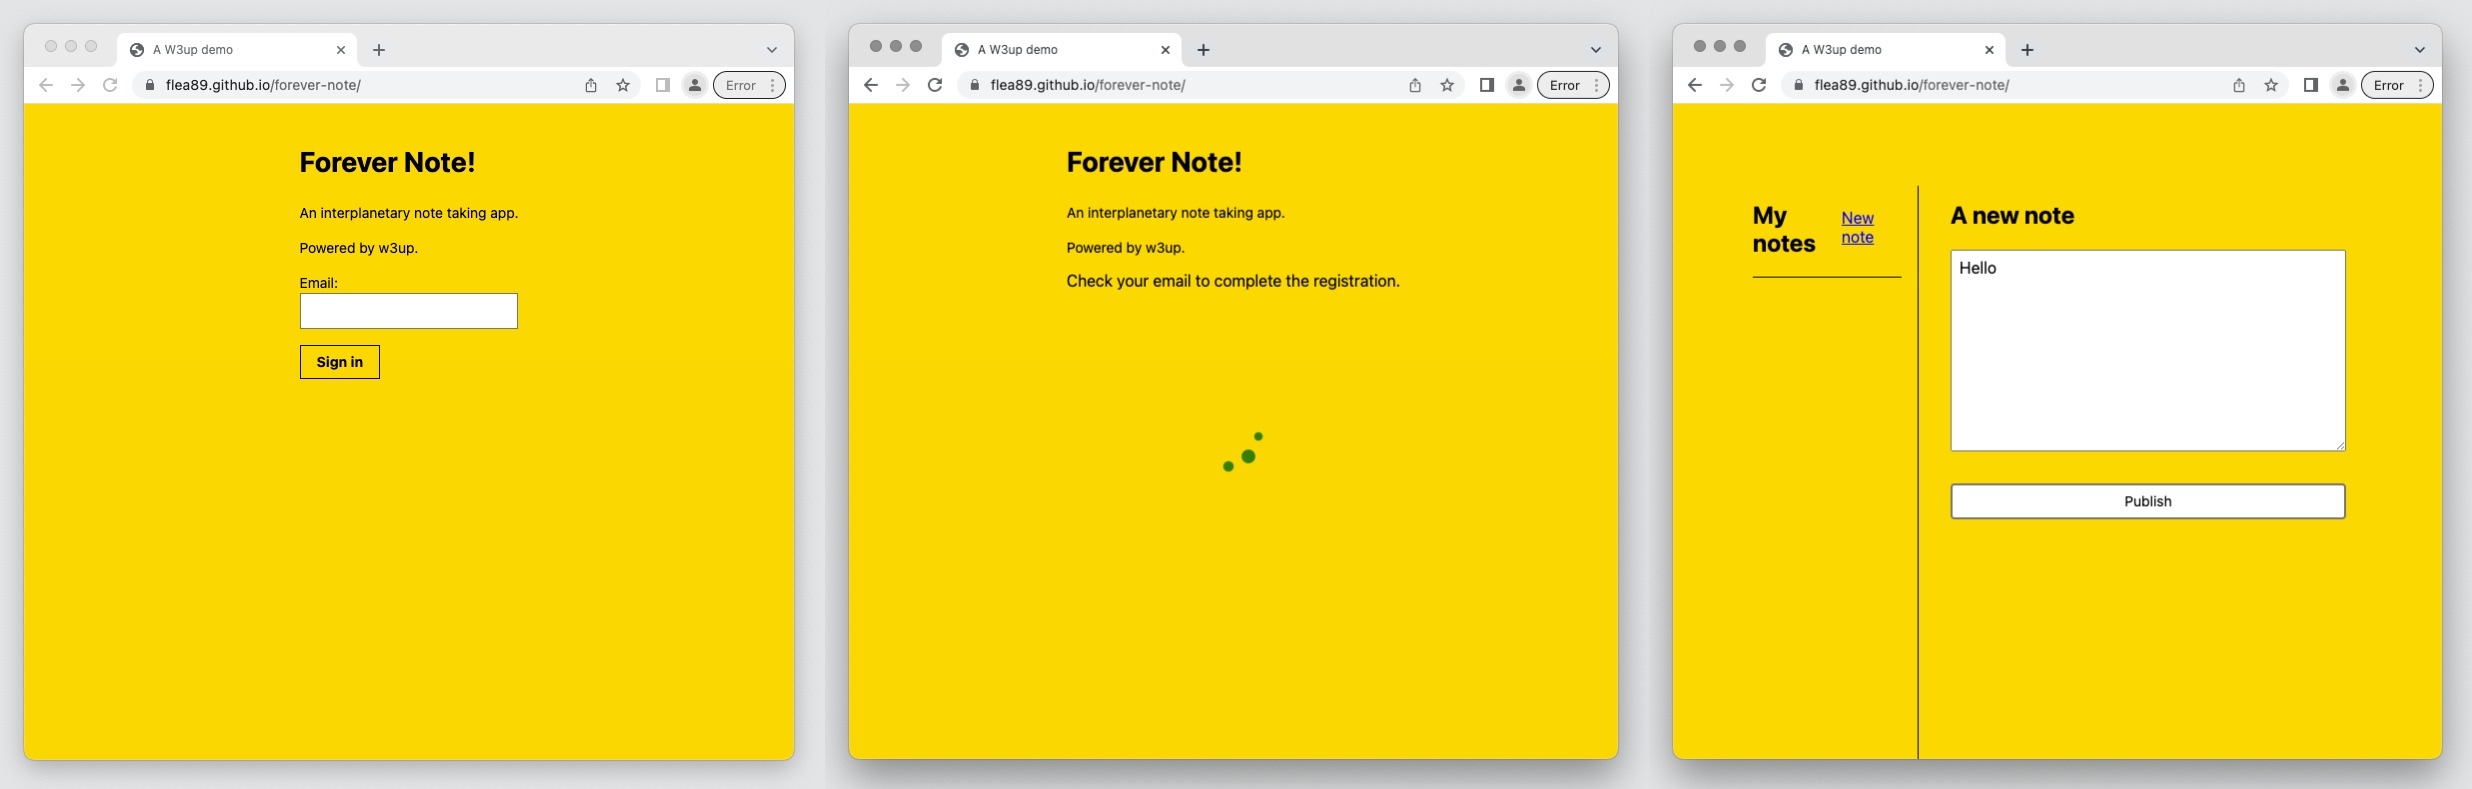
Our users don't have to create an account with us. We use w3ui wallet to handle signing in. w3ui wallet leverages w3up and UCAN in the background. You authorize us the ability to store your notes in your w3up account tied with Web3.Storage.
It was straightforward to implement the sign-in form thanks to the headless nature of w3ui. You are in control of the styling.
Also, there are no passwords! Authentication is done in 3 steps, fill in your email address. Check your inbox and follow the secure authentication link. As a JavaScript developer, this is as easy as await-ing a function.
import {
  createIdentity,
  registerIdentity,
  sendVerificationEmail,
  waitIdentityVerification,
} from "@w3ui/wallet-core";

const unverifiedIdentity = await createIdentity({ email: "example@web3.storage" });
await sendVerificationEmail(unverifiedIdentity);
const controller = new AbortController();
let status = undefined;

try {
    ({ identity, proof } = await waitIdentityVerification(
        unverifiedIdentity, { signal: controller.signal, }
    ));
    await registerIdentity(identity, proof);  // wait for the user to click and follow the authentication link
    status = "success";
} catch (err) {
    status = "error";
    console.error("Registration failed:", err);
}
Ok, now that we can authenticate users, how will we save their notes?
Upload
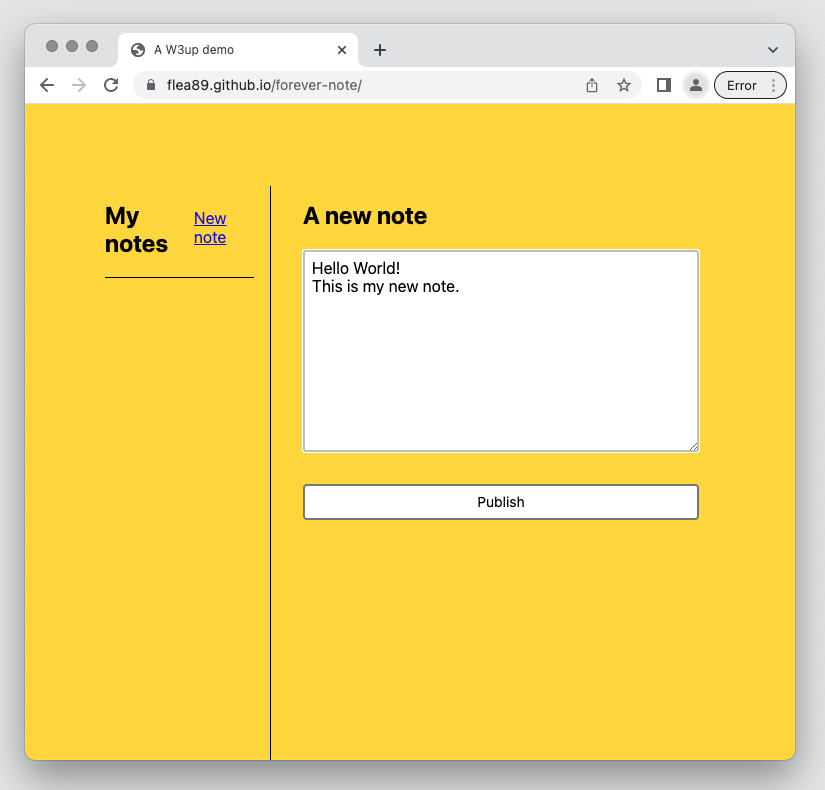
We used a basic HTML textarea to let users input their notes. When they click the "Publish" button, we get the content and create an in-memory text file which we will upload to IPFS with w3up.
The w3up service accepts data in the form of Content Archives, also known as CARs. A CAR is a collection of content-addressed blocks of data, and we use them to ensure end-to-end data integrity and streamline the data processing pipeline when you upload data.
Sounds complicated? w3ui provides utility functions that will help us. We use the encodeFile function to convert our in-memory file into a CAR file. Note that one could also upload a folder containing multiple files with the encodeDirectory function.
Notice how encodeFile also returns the CID of our file! A content identifier, also known as a CID, is a unique value used to identify files stored on the IPFS network.
import { encodeFile, uploadCarBytes } from "@w3ui/uploader-core";

async createFile(content, title = "note.txt") {
    const blob = new Blob([content], {
      type: "text/plain;charset=utf-8",
    });
    const file = new File([blob], title);
    const { cid, car } = await encodeFile(file);

    const chunks = [];
    for await (const chunk of car) {
      chunks.push(chunk);
    }
    const bytes = new Uint8Array(await new Blob(chunks).arrayBuffer());

    return {
      cid,
      car,
      bytes,
    };
}
With a CAR file in hand, we are ready to upload it to IPFS. This is done with the uploadCarBytes function provided by w3ui.
import { uploadCarBytes } from "@w3ui/uploader-core";
import { loadDefaultIdentity } from "@w3ui/wallet-core";

async uploadFile(bytes) {
    const identity = await loadDefaultIdentity();  // used current user's identity
    if (!identity) {
      throw Error("Trying to upload but identity is missing");
    }
    await uploadCarBytes(identity.signingPrincipal, bytes);  // upload the file
}
When the upload is finished, you can use the CID to get your file from one of the IPFS gateways (e.g. w3link).
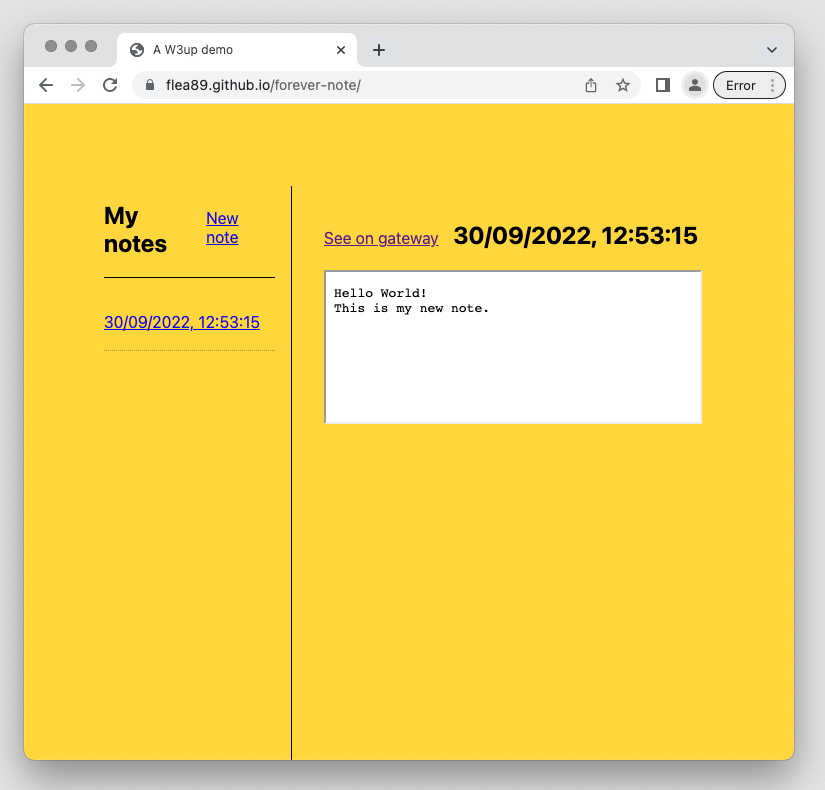
Retrieval
Our note-taking app has a sidebar with a list of previously written notes. We store the notes CIDs in localstorage. When we want to display a note, we fetch it from an IPFS gateway.
But it is possible to fetch uploads in your Web3.Storage account (CAR CIDs and root CIDs) with w3ui's handy function listUploads. Adding this feature should be a great next step if you want to get your hands dirty with w3up and vanilla JS.
Conclusion
We found we could quickly create this proof-of-concept note-taking thanks to all the abstractions provided by w3up and w3ui. There are many promising possibilities, like letting users have control and portability over their data. Your notes are not tied to our application. The possibility of editing your notes is something we haven't explored in this demo. We could leverage IPNS and, in particular, w3name for that.